2.2.1. Step 1: System Setup
Use Launcher to start Admin Console.
The following steps also use Launcher to start Routing Service, Recording Service, and Shapes Demo. For more details on Launcher, see the Launcher User’s Manual.
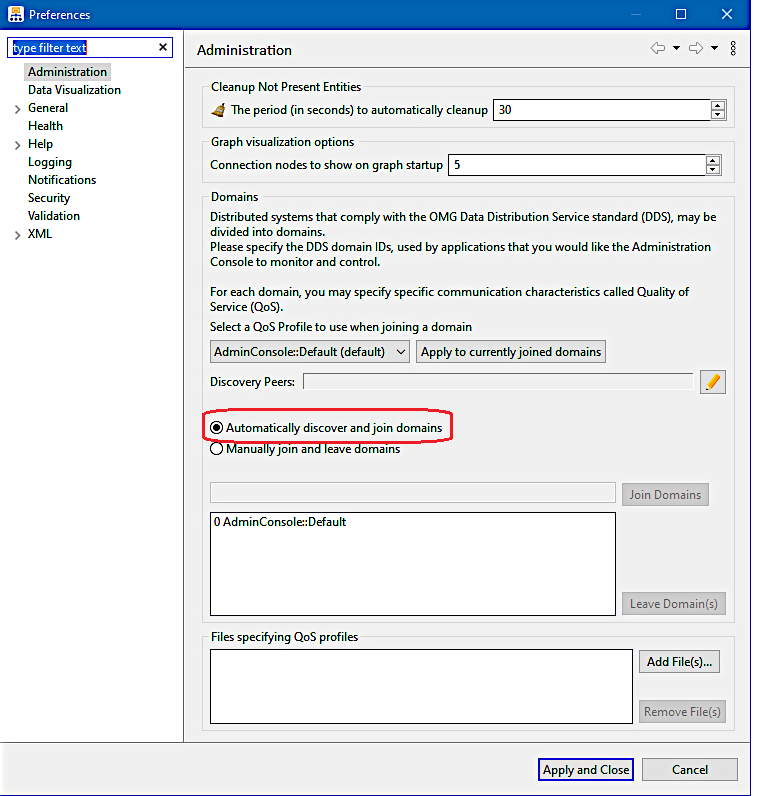
Confirm Auto join:
To confirm that Admin Console is automatically discovering and joining domains, open the Preferences dialog by clicking on this button
 , then make sure
‘Automatically discover and join domains’ is selected.
Start Routing Service using the “default” configuration.
Start Recording Service using the “default” configuration.
Start Shapes Demo:
Start the first of two instances of Shapes Demo. Ensure it is using Domain 0 by looking at the text in the window’s title. Then create one Publisher each for the Square, Circle, and Triangle Topics.
Start the second instance of Shapes Demo. To change its domain: choose “Configuration” from the Controls menu; press the Stop button, enter 1 for “Choose the domain”, and press Start. Then create one Subscriber each for the Square, Circle, and Triangle Topics.
Compile a Distributed Logger Example:
Compile one of the Distributed Logger Example applications. See Finding the Examples. We will use the example Hello_direct_usage. This example is only available in Java, but you can use any of the provided examples in other languages if you prefer. Follow the README file provided in the example’s folder to compile and run the application.
Note
If you do use another example, keep in mind that the user interface may look different than the screenshots shown in this guide.