How to add an IDL file to a Visual Studio Project
You can generate code using rtiddsgen from inside Visual Studio. Attached to this article there are some projects as example. I generated the projects using rtiddsgen:
rtiddsgen -example x64Win64VS2013 -language C HelloWorld.idl
rtiddsgen -example x64Win64VS2013 -language C# HelloWorld.idl
Then in Visual Studio, open the generated solution and add the IDL file. This can be done by right clicking in the project folder where you would like to have your IDL (normally the “Source Files” folder) and select Add->Existing Item. After that select the IDL file to be added.
By default Visual Studio will try to compile the IDL file by using MIDL tool, which will fail. To change that simply right click in the IDL file, select menu item “Properties” and change to “Custom Build Tool”.
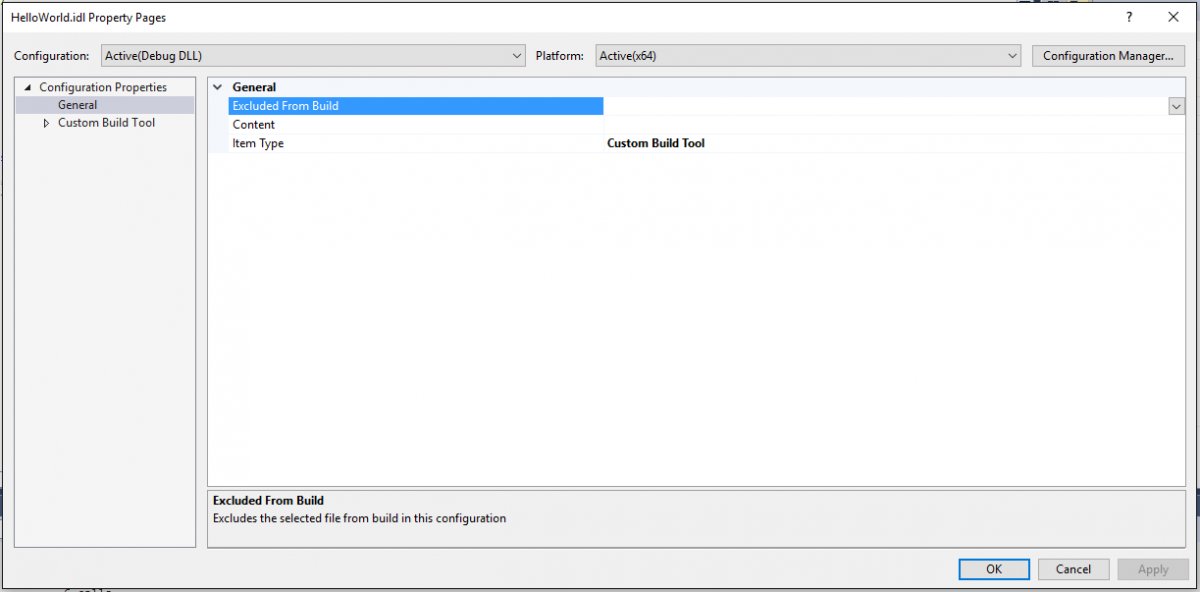
The last step is to add the custom build command to call rtiddsgen.
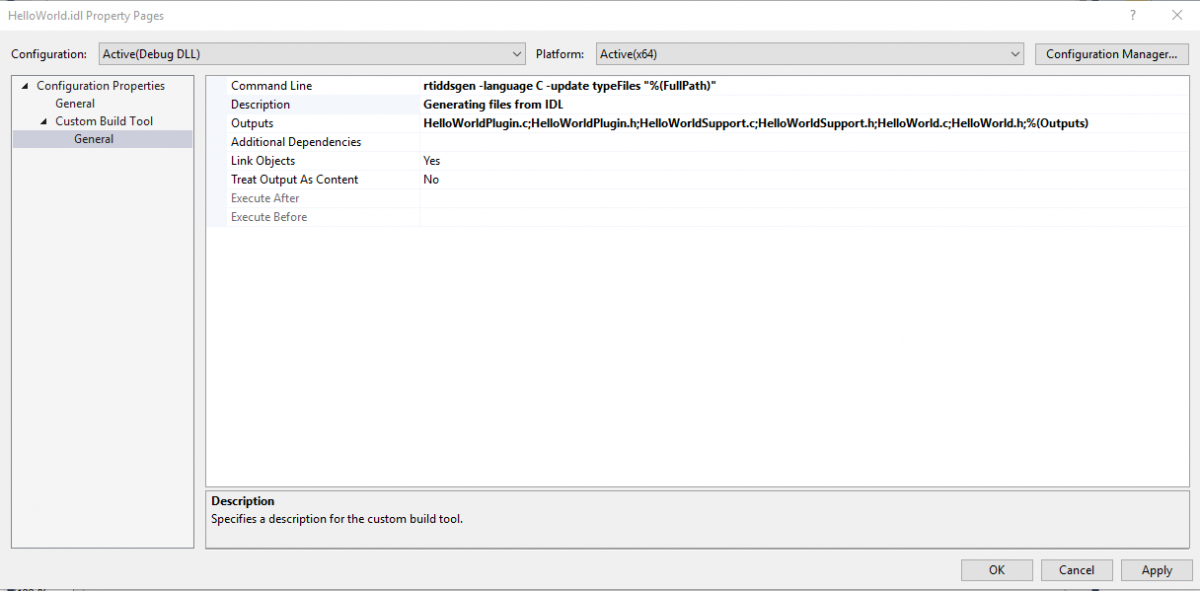
Command Line: rtiddsgen -language C -update typeFiles "%(FullPath)"
With this command rtiddsgen will overwrite all files related to the type defined in the IDL file. Project files, QoS, subscriber and publisher source files will not be modified. Note that I used “” with %(FullPath) just in case the path to the IDL file contains white spaces. Also note that location of rtiddsgen needs to be in the “Path” environment variable.
Obviously you will need to adapt this command to your needs: programming language, files to update (type definition, subscriber and publisher, etc)... You can run command "rtiddsgen -help" for more details.
Outputs: All files which are modified by rtiddsgen need to be added here. It is very important not to miss any file, as Visual Studio needs to know the dependencies between the IDL file and the source files.
C and C# examples