HOWTO Develop C/C++ RTI Connext DDS Applications using Eclipse
1. Introduction
The purpose of this document is to describe how to use Eclipse to develop C/C++ Connext DDS applications. The document is organized as follows:
- In Section 2 we generate the code of our application using rtiddsgen.
- In Section 3 we create and set up the Eclipse project to build our C/C++.
- Finally, in Section 4 we configure Eclipse to run our Connext DDS application.
Note 1: This HOWTO assumes you have Eclipse IDE with tools for C/C++ developers installed. If you don’t have these tools go to http://www.eclipse.org/downloads/ and extract them on top of your current Eclipse installation directory. It is also important to open the C/C++ perspective on Eclipse to see the options described in this document.
Note 2: If you want to create a Eclipse project for a Java application, take a look at the solution How do I create a RTI Connext Java application in Eclipse? in our Knowledge Base.
2. Generate code using rtiddsgen
The first step is to define your data types in a text file using IDL. In this HOWTO we define the IDL ofShapeType—the data type Shapes Demo uses.
struct ShapeType {
 string<128> color; //@key
 long x;
 long y;
 long shapesize;
};
rtiddsgen generates code to define and register data types with Connext DDS. It also creates simple applications that publish or subscribe to the user data types, along with the elements you need to compile the code, i.e., makefiles and Visual Studio projects.
Using rtiddsgen, generate the code and example applications for your platform (e.g., i86Linux2.6gcc4.1.1).
$ NDDSHOME/scripts/rtiddsgen -example i86Linux2.6gcc4.1.1 -language C++ shape.idl
3. Create and Set Up an Eclipse Project
3.1 Create Project
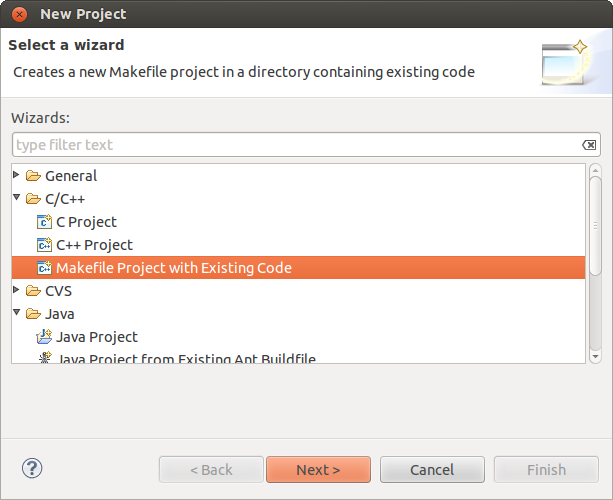
To create the project click on File->New->Project in the Eclipse menu bar, which will pop up a wizard dialog. Then, under C/C++, select Makefile Project with Existing Code and click on Next.
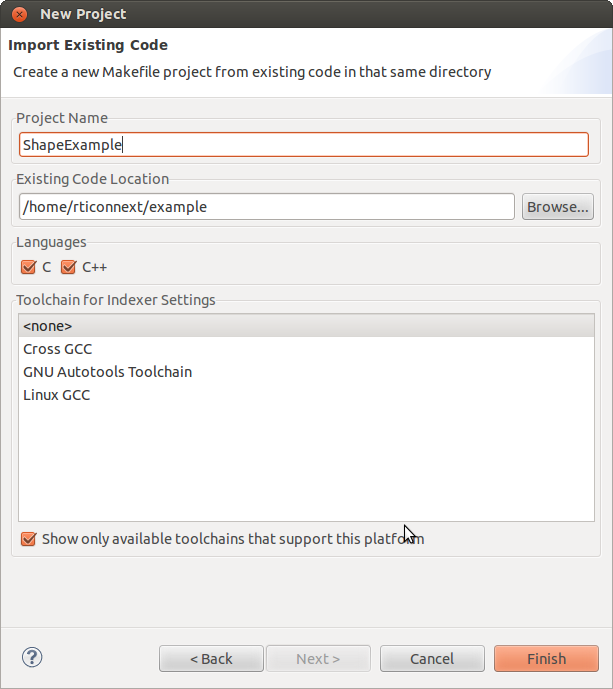
Now, fill in the Project Name (e.g., ShapeExample), the Existing Code Location (e.g., /home/rticonnext/example), and click on Finish.
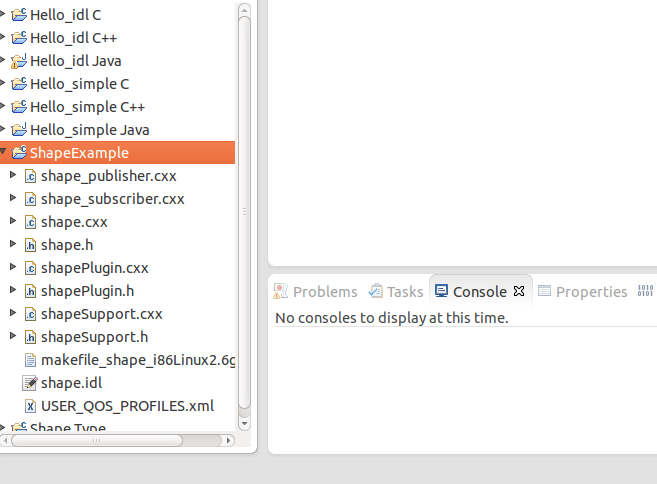
You will see now your new project in the workspace.
3.2 Configure Project to Build your DDS Code
To configure your project to build your Connext DDS application, left-click on the project name and open Project Properties (Alt+Enter). Under C/C++ Build you will see the build configuration elements for the project. In this tutorial we are going to create just one build configuration to compile code in Static Release mode.
Note: Makefiles generated by rtiddsgen compile by default in Static Release mode. You can follow the steps defined bellow to create new build configurations (e.g., Static Debug or Dynamic Release) for your makefile.
First, click on Manage Configurations and rename the default configuration to Release. Then, change the build command from make to make -f makefile_shape_i86Linux2.6gcc4.1.1 (the name of the makefile depends on your target platform) and fill in your build directory (e.g., /home/rticonnext/example).
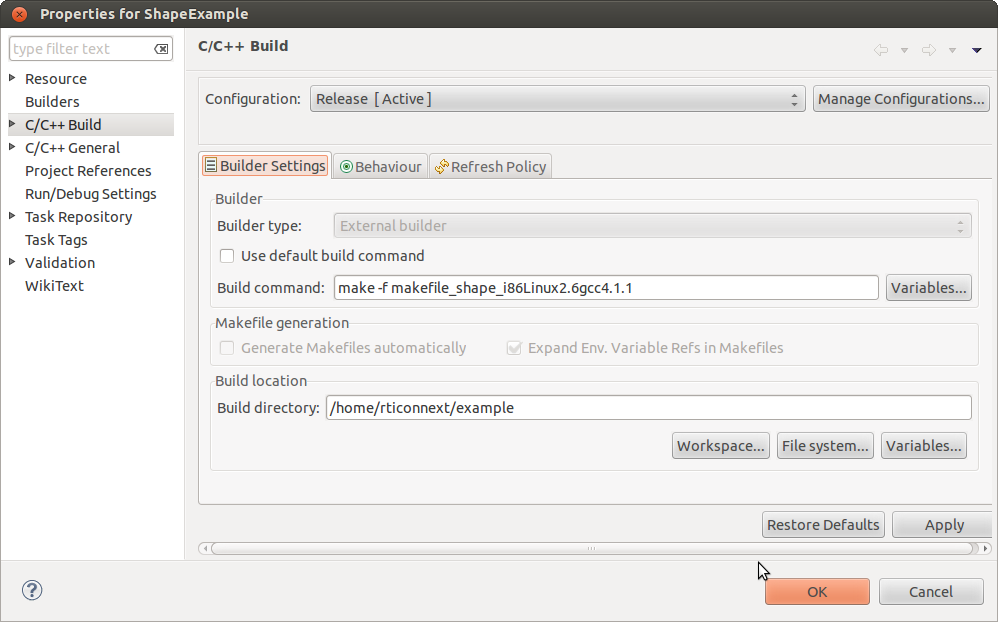
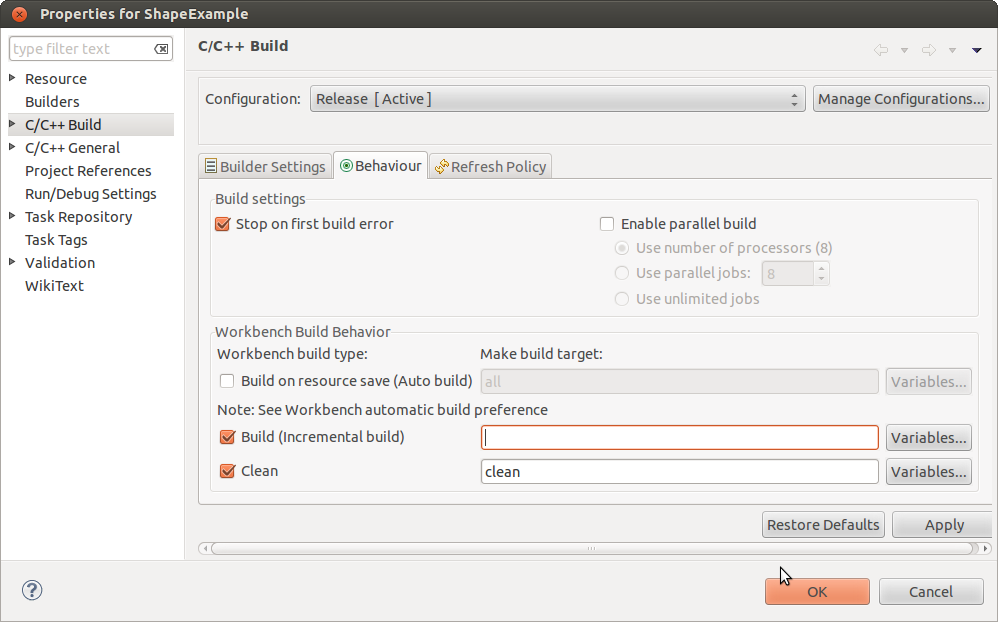
Click on Apply, leave empty Incremental Build under the behavior tab, and click on Apply again.
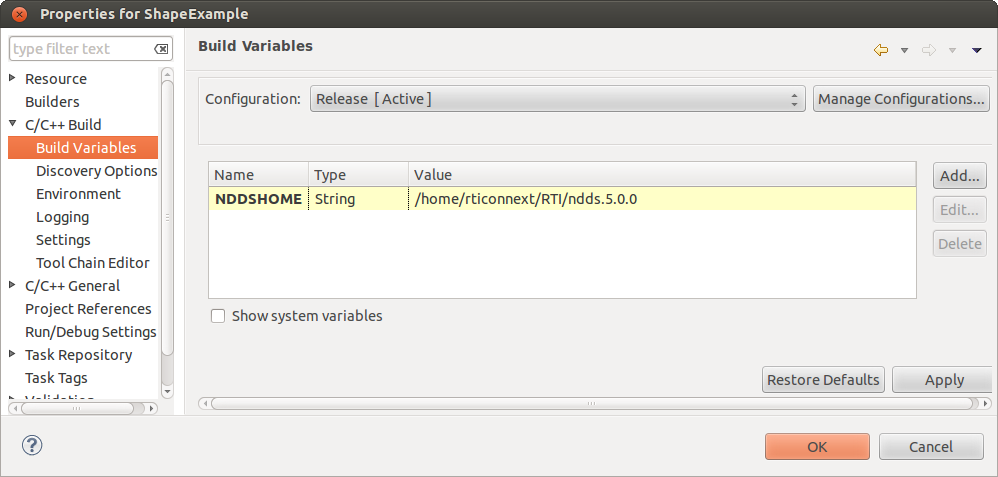
Under C/C++ you will find an option to add Build Variables. You will need to declare NDDSHOME there to build your project using the makefile rtiddsgen generated.
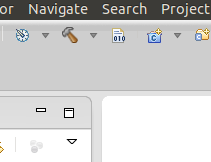
Now, you can build project using Eclipse. Click on the build icon (a hammer in the tool box) or left-click the project name and select build.
3.3 Enable auto completion
Before running the publisher and subscriber applications, we are going to configure the project to enable DDS code auto completion.
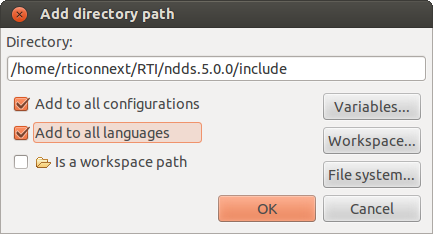
Open Project Properties again, go to C/C++ General->Paths and Symbols, and add the following include directories to all the configurations and all the languages:
- NDDSHOME/include
- NDDSHOME/include/ndds
- NDDSHOME/include/ndds/hpp (only if you are using the Modern C++ API for C++03 / C++11)
- /usr/include
- /usr/include/c++/4.6 (depending on your linux distribution)
Note: The include directory paths listed above are thought to work on Ubuntu Linux 12.04. If you are using a different Linux distribution or a different operating system modify the path accordingly.
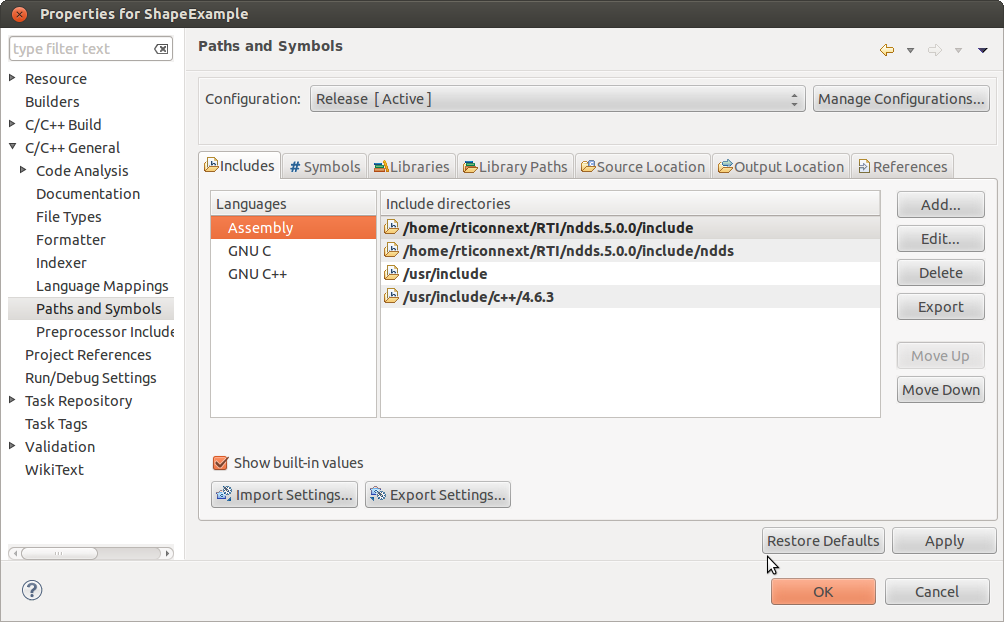
Finally. click on Apply and rebuild your project.
4. Configure DDS Application to Run Under Eclipse
4.1 Create new run configuration
Now that you have a working project on Eclipse, you can add run configurations to execute (and debug) your DDS applications inside Eclipse. To create a new run configuration click on Run->Run Configurations or in the “Play” button in the toolbar.
Create a new C/C++ application:
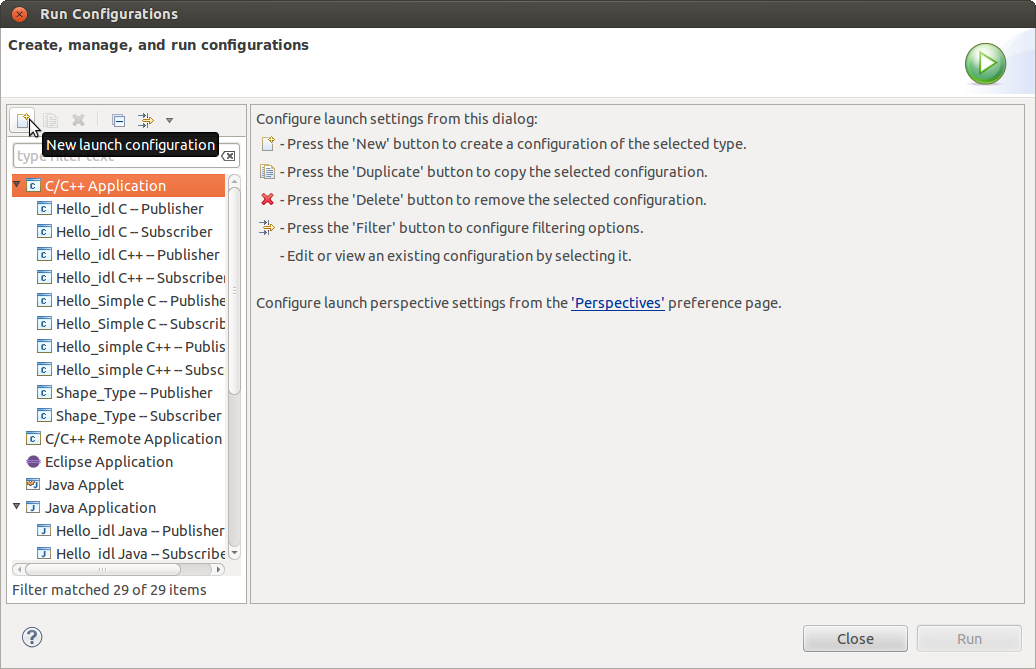
Now, click on Browse, open the shape_publisher and click on Apply. Make sure you got the absolute path of the executable (e.g., /home/rticonnext/example/objs/i86Linux2.6gcc4.1.1/shape_publisher)

Go to the Arguments tab, change the path of the working directory and click on Apply. In our example, the working directory is /home/rticonnext/example. Note that it is important to run the application from the directory where the QoS settings XML file is.
Finally, in the environment tab, addNDDSHOMEto the environment variables list and click on Apply.

If you also want to configure the subscriber application you can copy the run configuration and change its name and executable.
4.2 Run your application
To test the application, click on the “Play” button and select the new run configuration. You should see the output of the publisher application in the Console tab.


Comments
Gazpacho
Wed, 11/25/2015 - 08:03
Permalink
Invalid arguments?
Wonderful walkthrough. Thanks. Very helpful.
Eclipse now can handle this sample code, but only up to a point. When I pull one of the source files into Eclipse's editor, it gets upset at a number of the lines (although it will still build and run just fine). For example, with the *_publisher.cxx file, it complains around line 104 near these lines...
/* To customize participant QoS, usethe configuration file USER_QOS_PROFILES.xml */
participant = DDSTheParticipantFactory->create_participant(
domainId, DDS_PARTICIPANT_QOS_DEFAULT,
NULL /* listener */, DDS_STATUS_MASK_NONE);
if (participant == NULL) {
printf("create_participant error\n");
publisher_shutdown(participant);
return -1;
}
Eclipse is upset with the arguments supplied to the create_participant() call, saying...
Invalid arguments '
Candidates are:
DDSDomainParticipant * create_participant(?, const DDS_DomainParticipantQos &, DDSDomainParticipantListener *, ?)
Similar complaints come from the calls to create_publlisher(), create_topic(), and create_datawriter().
Suggestions?
------------------ EDIT/UPDATE ------------------
After some amount of searching and thrashing, I was able to find/fix the problem. I just needed to rebuild the index. From Eclipse's menubar...
Project -> C/C++ Index -> Rebuild