How to configure Connect DDS security in Admin Console
Note: Applies to Connext DDS 5.3.0 and above.
RTI Admin Console is compatible with RTI Security Plugins. Configuring security in Admin Console will allow you to visualize your secure DDS system. To configure security in Admin Console, follow these steps:
Note: As a prerequisite for using security in Admin Console, you need to install the RTI Security Plugins. For this, you can follow the instructions in the RTI Security Plugins Installation Guide.
Start Admin Console. Go to Preferences -> Security. You will see this Security panel:
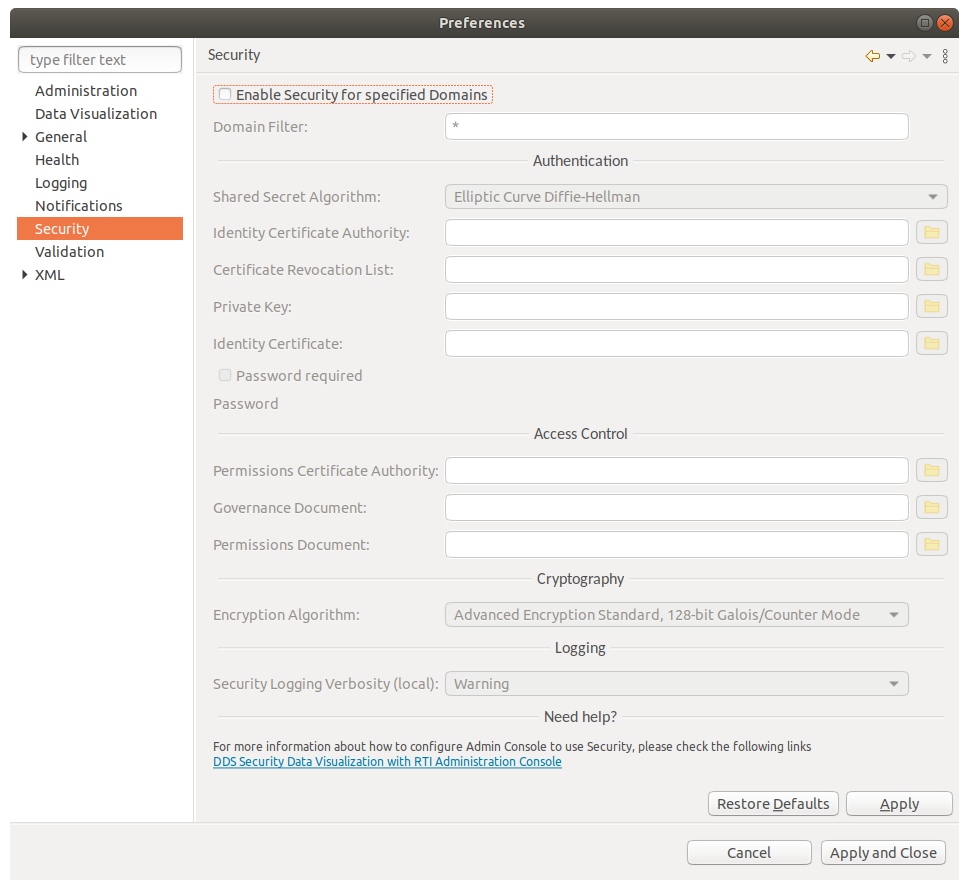
Check the “Enable Security for specified Domains” checkbox.
Set the “Domain Filter” to the desired domains where you want to visualize your secure DDS system. A “*” in this field will apply security to all domains; you can also use patterns like “2,3” or “8,9-12,23”.
Fill out the authentication, access control, and cryptography settings according to your DDS application security configuration. (In 5.3.x versions: Make sure to click the “Apply” button. This is critical because the settings won’t be applied if you just click “OK”.) Here is an example of the values if you want to configure Admin Console to work with the “Security::SecureAllowAll” profile of Shapes Demo:
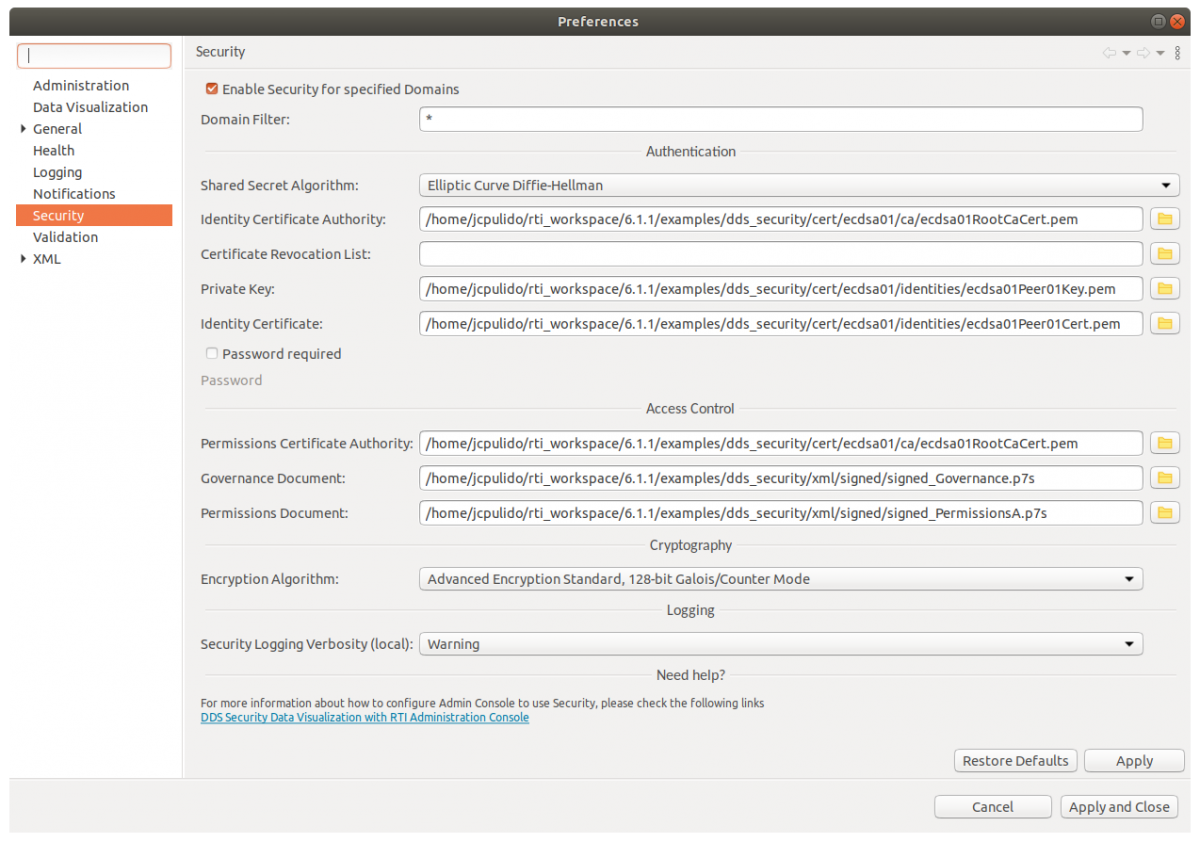
In the above screenshot, “/Applications/rti_connext_dds-6.0.0/” is the path to the installation of RTI Connext DDS.
You can find information on authentication, access control and cryptography settings in chapters “Authentication”, “Access control” and “Cryptography” of the RTI Security Plugins Getting Started Guide.
With these steps, you should have Admin Console configured with security.
Testing the configuration
Set up Admin Console’s security configuration according to “Security::SecureAllowAll” profile as explained above.
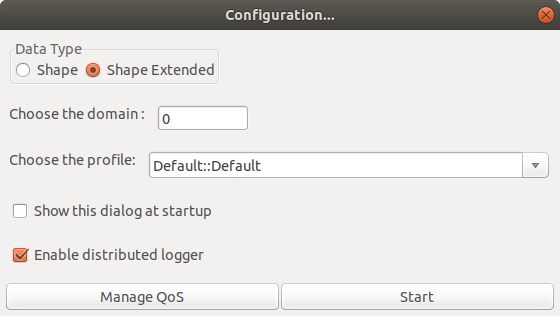
To test that Admin Console was properly configured, start Shapes Demo, go to Configuration and make sure you are using “Default::Default” profile. Then publish a square using that profile.
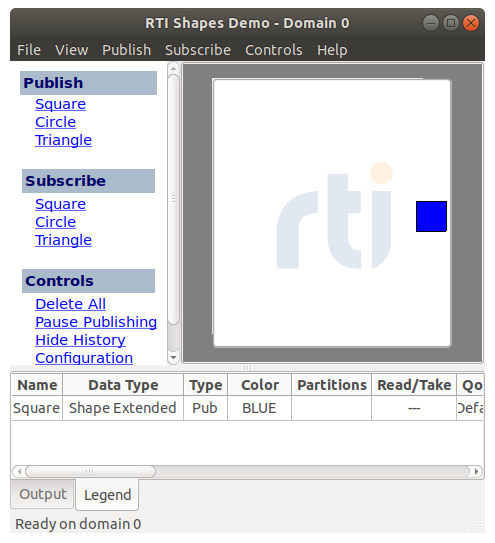
Admin Console shouldn’t display any information in the DDS Logical or Physical Views for this Shapes Demo application.
You will likely see some error messages and many warnings in Admin Console. This is normal and expected behavior. These let you know that you are receiving unencoded messages that are rejected and that you denied the connection to a non-secure participant. In the following image you can see an example of these messages:

To ensure that Admin Console can visualize information that has a matching security configuration, in Shapes Demo go to Configuration, press Stop, choose the “Security::SecureAllowAll” profile, then press Start.
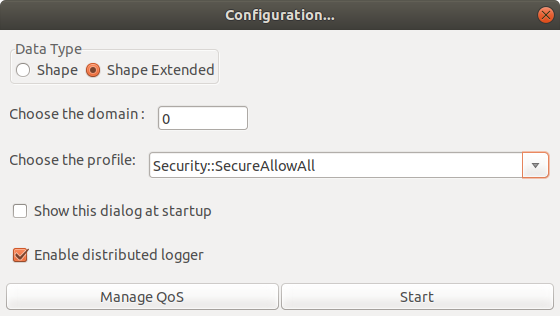
Once Shapes Demo is configured with the proper profile, publish a square as we did before.
In Admin Console go to DDS Logical View -> Domain 0 -> Square and double click on it. In panel “0 : Square” go to the tab “Topic Data”, and press Subscribe. Then in “Create Subscription” panel press OK. Admin Console should look like this:
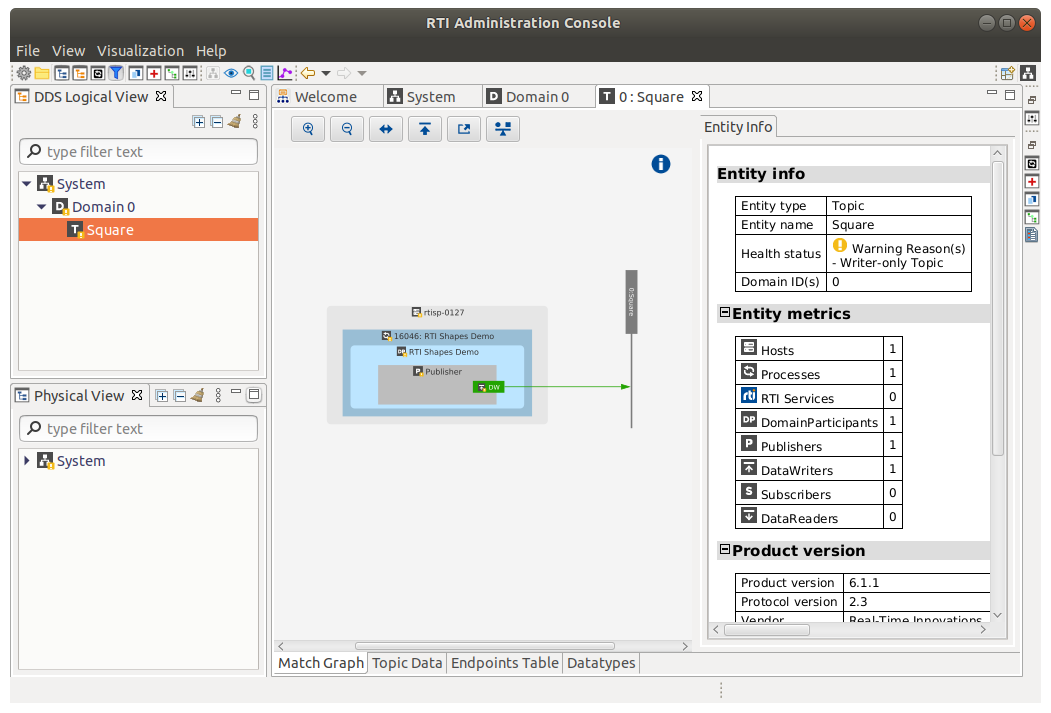
If you see the samples in “Topic Data” tab, congratulations! You have properly configured security in Admin Console!

Comments
michal19
Fri, 10/18/2019 - 03:20
Permalink
thanks
thanks a lot, I was looking for it.