2.2.8. Step 8: Customize the Layout
Admin Console is built on top of the Eclipse framework, which is very flexible and allows you to change the layout. The following provides some useful tips and tricks on how to customize your layout.
2.2.8.1. Docking
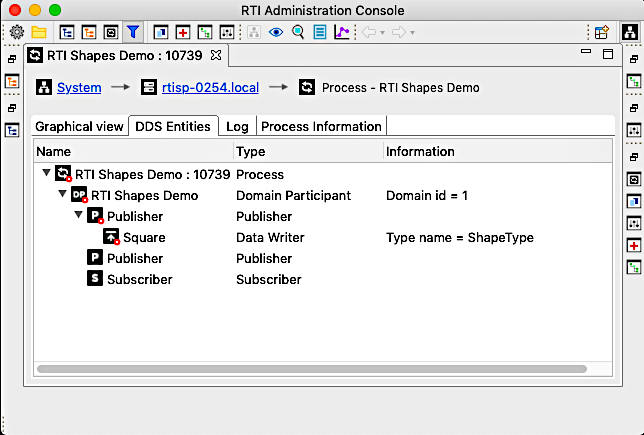
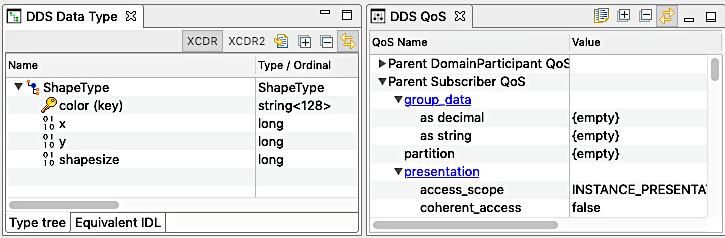
You can redock most tabs in Admin Console. Simply click and hold onto a tab, then drag it to the top, left, right, or bottom. A black rectangle should appear, signaling you can dock to that area.
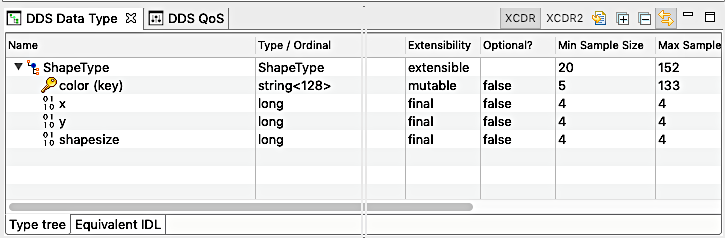
Once you see the dotted box, you can release the mouse and the view will be docked to the desired area. Redocking is most useful when you want to see multiple things at the same time. The following shows a few different views.
2.2.8.2. Maximizing a View
Some views, such as the Distributed Log view or the Service Configuration view, have a lot of content that could use more screen space. To maximize space for that view, simply double-click on the tab. You can restore the original state by double-clicking on the tab again.